Why Hyperliquid Is More Than a Perp Exchange
Hyperliquid is best known for perpetual futures liquidity, but the spot market matters too. If a user can buy HYPE, BTC, ETH or SOL spot inside the same wallet-based environment where they trade perps, the pitch becomes stronger: one no-KYC setup for directional spot exposure, collateral management and advanced derivatives.
This is also where Hyperliquid compares well against Aster. Aster has spot trading, but its stronger angle is broader perpetual coverage: stocks, gold, forex, privacy tools and high-leverage modes. Hyperliquid's cleaner selling point is deep perp liquidity plus a growing spot layer around HYPE and major crypto assets.
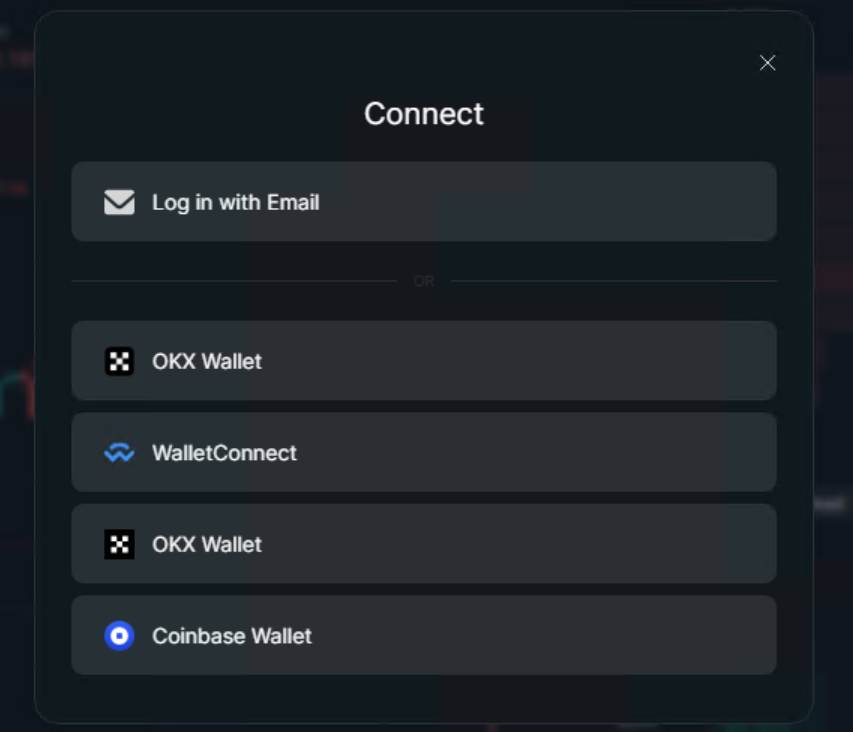
Step 1: Open the Official App and Connect a Wallet
Use a separate trading wallet rather than your long-term storage wallet. Rabby, MetaMask and OKX Wallet are the easiest choices for most users. Open the official Hyperliquid app, connect the wallet, and make sure you are not in a restricted jurisdiction before depositing.
- Use a fresh hot wallet for trading activity.
- Keep seed phrases offline and never paste them into any site.
- Check the URL carefully before connecting or signing.
Step 2: Deposit USDC First
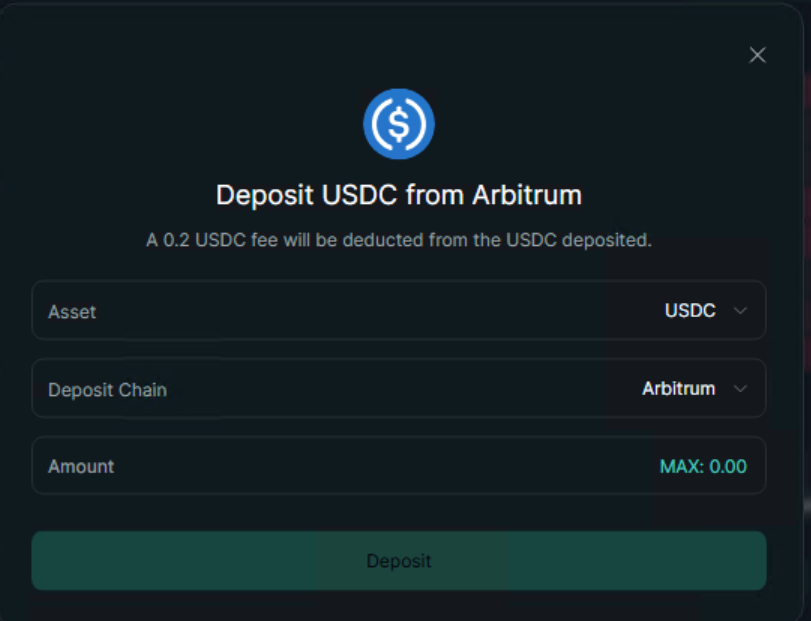
USDC is the standard starting point for most Hyperliquid users. The common route is to fund a wallet with USDC on Arbitrum, then deposit through the Hyperliquid app into the trading environment. Always follow the live app route because deposit flows can change.
Send a small test amount first. After it appears, make one tiny transaction, then test a small withdrawal before sending larger capital.
Step 3: Decide Whether You Need Spot or Perps
| Goal | Use spot when... | Use perps when... |
|---|---|---|
| Buy HYPE or a major coin | You want direct token exposure without liquidation risk. | You want leveraged exposure or short-side flexibility. |
| Trade BTC, ETH or SOL | You want to own the spot asset and avoid funding payments. | You want capital efficiency, leverage or hedging tools. |
| Manage risk | You are still learning deposits, orders and withdrawals. | You understand funding, margin and liquidation distance. |
Spot support is a valid selling point, but it should be framed carefully. It does not replace a large centralized exchange for every asset. Its value is that a no-KYC, self-custody trader can keep mainstream spot exposure and perp trading close together.
Step 4: Place a Small Perp Test Order
Before sizing up, place a tiny low-leverage order on a liquid market such as BTC or ETH. Check the order type, margin mode, estimated liquidation price and maker/taker fee. Close the order manually so you understand the full open-and-close workflow.
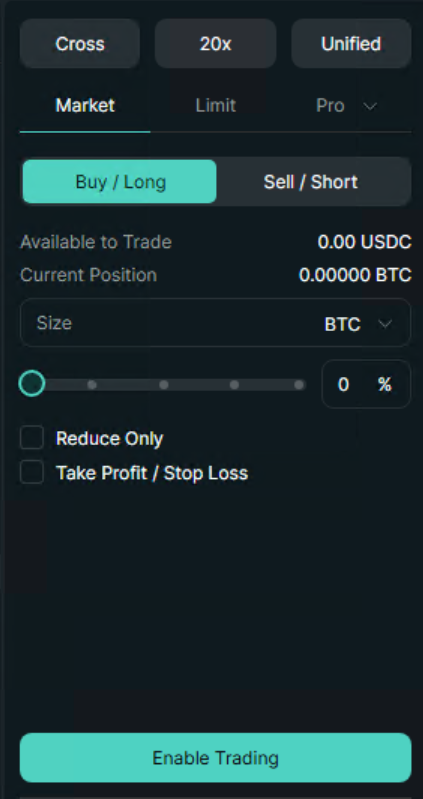
Do not let a clean deposit flow convince you to use high leverage immediately. The first objective is operational confidence, not profit.
Step 5: Activate the Fee Setup Before Volume
If you plan to trade, activate the referral discount before your first real volume. After that, let volume tiers work naturally. HYPE staking can reduce fees further, but it adds token price risk, so it belongs in a separate decision from basic trading setup.
Best Beginner Setup
Open Hyperliquid through the referral link, deposit a small amount of USDC, test spot or a low-leverage perp order, withdraw a small amount, and only then scale. Use spot for direct HYPE/BTC/ETH/SOL exposure; use perps only when you understand leverage and liquidation.
Start on Hyperliquid →Hyperliquid Setup FAQ
Does Hyperliquid require KYC to start trading?
Can I buy HYPE, BTC, ETH or SOL spot on Hyperliquid?
Should beginners start with spot or perpetuals?
How do I lower Hyperliquid fees before trading?
Keep Reading
- Hyperliquid review — fees, markets, HYPE and no-KYC access
- Hyperliquid fee discount and HYPE staking guide
- How to withdraw from Hyperliquid — close, match network, test dust
- Wallet and deposit guide for Hyperliquid, Aster and Lighter
- Aster review — stocks, gold, spot and 1001x leverage
- Hyperliquid vs Aster vs Lighter comparison